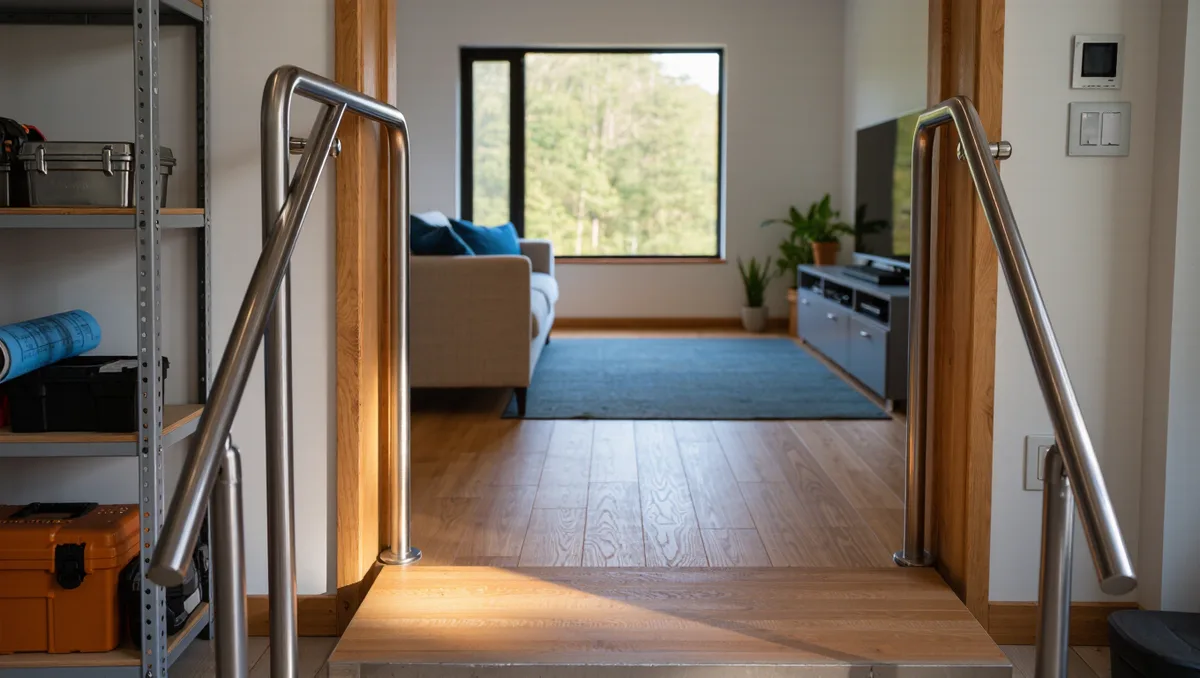
A small living room can work for a wheelchair. The layout matters more than the square footage. You need a clear path to everything you actually use, furniture that does not crowd that path, and turning space at the spots where you change direction. The ADA standard for public buildings sets a minimum clear doorway width of 32 inches, and while your home is not held to that rule, it is a useful target — requirements vary by jurisdiction, building type, and program, so treat the standards as guides, not guarantees.
This guide walks through the spacing rules that matter, the furniture decisions that free up floor, and the trade-offs worth naming out loud before you move a single sofa. It is information, not design or safety advice — your own room, your own chair, and your own routine get the final vote.
How much clear space does a wheelchair actually need?
Think in three layers. First, the path: a route through the room wide enough to roll without clipping a chair leg or a plant stand. Second, the turn: space to pivot or turn in place, which takes more room than rolling straight. Third, the approach: a clear spot in front of anything you use from the chair — a desk, a shelf, the TV cabinet, the window latch.
The ADA design standards describe a wheelchair turning space as a clear area roughly the size of a square about five feet on a side, or a circle of similar diameter. In a small room you rarely get that everywhere, so you do not try. You place one generous turning zone where you need it most — usually between the seating and the room's main exit — and keep the rest of the room as clean, straight paths.
Measure before you plan. A laser measure or a tape and a helper will tell you in ten minutes whether the room gives you a five-foot turning zone anywhere, or whether the layout has to create one by moving furniture out of the room entirely.
What should come out of the room first?
In tight rooms, subtraction beats rearrangement. Most small living rooms fail wheelchair navigation not because the sofa is wrong but because the room holds furniture nobody uses. Our analysis of the problem is simple: every square foot of floor serves either movement or stuff, and in a small room movement loses unless you cut the stuff first.
Work through this order:
- Remove anything you can name but never use — the second armchair, the decorative table, the stack of magazines with a home elsewhere.
- Look for pieces that block the natural path from the door to the seat you use most. If a piece sits on that line and earns its place, plan its move; if it does not, it goes to another room.
- Clear the floor itself. Cords, rugs with curled edges, and low trays are obstacles at wheel height. Wall-mounted or raised storage keeps daily items off the rolling surface.
- Check the corners. Oversized plants and floor lamps are the usual offenders. A swing-arm wall lamp replaces a floor lamp and gives back its whole footprint.
If the room also carries medical equipment, the same subtraction logic applies with a stricter hand. Our guide to The Declutter Method for Homes With Medical Equipment covers how to keep gear accessible without letting it eat the floor plan.
Which furniture choices free up the most floor?
Choose pieces that hold their space honestly. A sofa with arms and a skirt looks smaller but behaves wider; a clean-lined loveseat with exposed legs can be approached from more angles. Armless chairs are easier to transfer to and from and easier to roll past.
- Wall-hugger or low-profile seating keeps the path behind it open.
- Tables with a raised edge or a lip keep items from sliding off during a transfer, but pick ones you can roll your knees under — a coffee table you can approach is more useful than a prettier one you orbit.
- Floating shelves and wall-mounted media units remove floor-standing storage entirely.
- Casters or glides on light furniture let you reconfigure the room in seconds rather than lifting it.
One dry truth about small rooms: the furniture that looks smallest in a showroom is not always the furniture that rolls best. Measure seat height, depth, and the gap under tables against your own chair before you buy anything.
How do you arrange the room around one clear path?
Start with the route, not the furniture. Trace the path you actually travel — door to seat, seat to kitchen, seat to hallway — and mark it on the floor with painter's tape. That taped line is the room's spine. Nothing lives on it.
Then place pieces in this sequence:
- Fix the main seat first, usually facing the room's best feature, with its back near a wall so it does not drift.
- Set the turning zone where two paths meet — typically between the seat and the room's exit. Keep this area completely empty.
- Push secondary seating to the walls. In a small room, perimeter placement beats conversational clusters; the cluster can be recreated by rolling two chairs together when you want it.
- Give every table a purpose and a position on the approach side of the seat it serves, not behind it.
- Walk — or roll — the taped paths and remove anything your wheels or footplates touch. The tape does not lie.
The objection worth hearing: wall-hugging everything can make a room feel like a waiting area. That is a real cost. The compromise is one pulled-in piece — an armless chair angled into the turning zone's edge — so the room reads as a living room, not a corridor with chairs.
What this means for doors, thresholds, and the rest of the house
A great living room layout ends at the door frame. If the doorway into the room is tight, or the threshold pitches the chair sideways, the best interior plan still fails at the boundary. Check the entry before you finalize anything inside it, and see our guide to An Entryway Setup That Works for Mobility Devices for the transition side of the problem.
It also pays to think of the room as one stop on a route through the whole home. The Living section collects setup guides for kitchens, laundry rooms, and daily routines, and the Modifications hub covers the structural work — doorways, ramps, bathrooms — that a layout alone cannot fix. If you are weighing whether to reconfigure this room or move, the Housing section covers how to evaluate homes for accessibility in the first place.
Practical steps: a one-afternoon layout checklist
You can test a new layout in an afternoon without buying anything:
- Measure the room and the largest furniture pieces. Write the numbers down.
- Tape the main paths on the floor, including the turning zone.
- Empty the room of everything not on the tape line.
- Place the main seat, then tables, then secondary seating — in that order.
- Roll every path twice: once empty-handed, once carrying whatever you usually carry, like a drink or a laptop.
- Adjust once, then stop. Small rooms reward a settled layout more than a perfect one.
The evidence here is practical, not experimental: clearance standards from the ADA and ANSI A117.1 tell you what clear space works, and the rest is arithmetic applied to your own floor plan. What remains unknown is only your room — and a tape measure settles that faster than any guide can.